Craft Your Own Digital Pet: Build an Arduino Nano Tamagotchi with a 3D-Printed Shell
Introduction
Remember the Tamagotchi craze of the '90s? Those tiny digital pets that fit in your pocket and demanded constant attention? Well, the magic hasn't faded. With a little help from modern technology—specifically an Arduino Nano and a 3D printer—you can recreate that experience with your own custom virtual pet. This project is perfect for electronics enthusiasts, 3D printing hobbyists, and anyone who wants a cute, interactive companion to care for. The best part? It’s small enough to slip into a pocket and engaging enough to teach you about hardware and coding along the way.
Why Build an Arduino Tamagotchi?
Building your own digital pet offers several advantages over buying a retro one. First, you gain full control over the design and behavior. Want your pet to have a unique personality or respond to different inputs? You can program it. Second, the 3D-printed shell lets you customize the look—choose colors, add decorations, or even print multiple shells to swap. Finally, the process itself is a rewarding educational experience that blends coding, electronics assembly, and 3D modeling.
Components You'll Need
Before diving in, gather the essential parts:
- Arduino Nano - The brain of your Tamagotchi. It’s small, cheap, and easy to program.
- OLED display (128x64) - A tiny screen to show your pet’s status, animations, and menu.
- Buttons (2-3) - For interaction: feeding, playing, and checking stats.
- Buzzer (optional) - For sound effects when your pet is happy or needs attention.
- 3D-printed shell - A custom enclosure designed to fit all components snugly.
- Power source - A small LiPo battery or two AAA cells (depending on your design).
- Wires, soldering iron, and basic tools.
Step-by-Step Guide
1. Design and Print the Shell
Start by creating or downloading a 3D model for your Tamagotchi shell. Many free designs are available online (Thingiverse, Printables). Ensure the model has slots for the OLED display, buttons, and battery compartment. Print using a fine layer height (0.2mm or lower) for a smooth finish. Choose a filament like PLA in your favorite color. After printing, lightly sand edges to remove burrs.
2. Wire the Circuit
Connect the OLED display to the Arduino Nano using I2C (pins A4 (SDA) and A5 (SCL)). Attach the buttons with pull-up resistors to digital pins (e.g., D2, D3, D4). Wire the buzzer (if using) to a PWM pin (e.g., D5) through a transistor or directly with a resistor. For power, use a 5V regulator if your battery is 3.7V LiPo, or connect a 5V USB battery pack directly. Double-check connections before soldering.
3. Write and Upload the Code
You'll need the Arduino IDE and libraries for the OLED (Adafruit SSD1306) and buttons (simplified debounce). Write a program that simulates a pet: initial happiness, hunger, and energy levels. Implement a game loop that decreases these stats over time. Use button presses to feed, play, or check status. Display cute pixel art for different moods. A simple example code can be found in the references below. After testing on breadboard, upload the final code to the Nano.
4. Assemble and Test
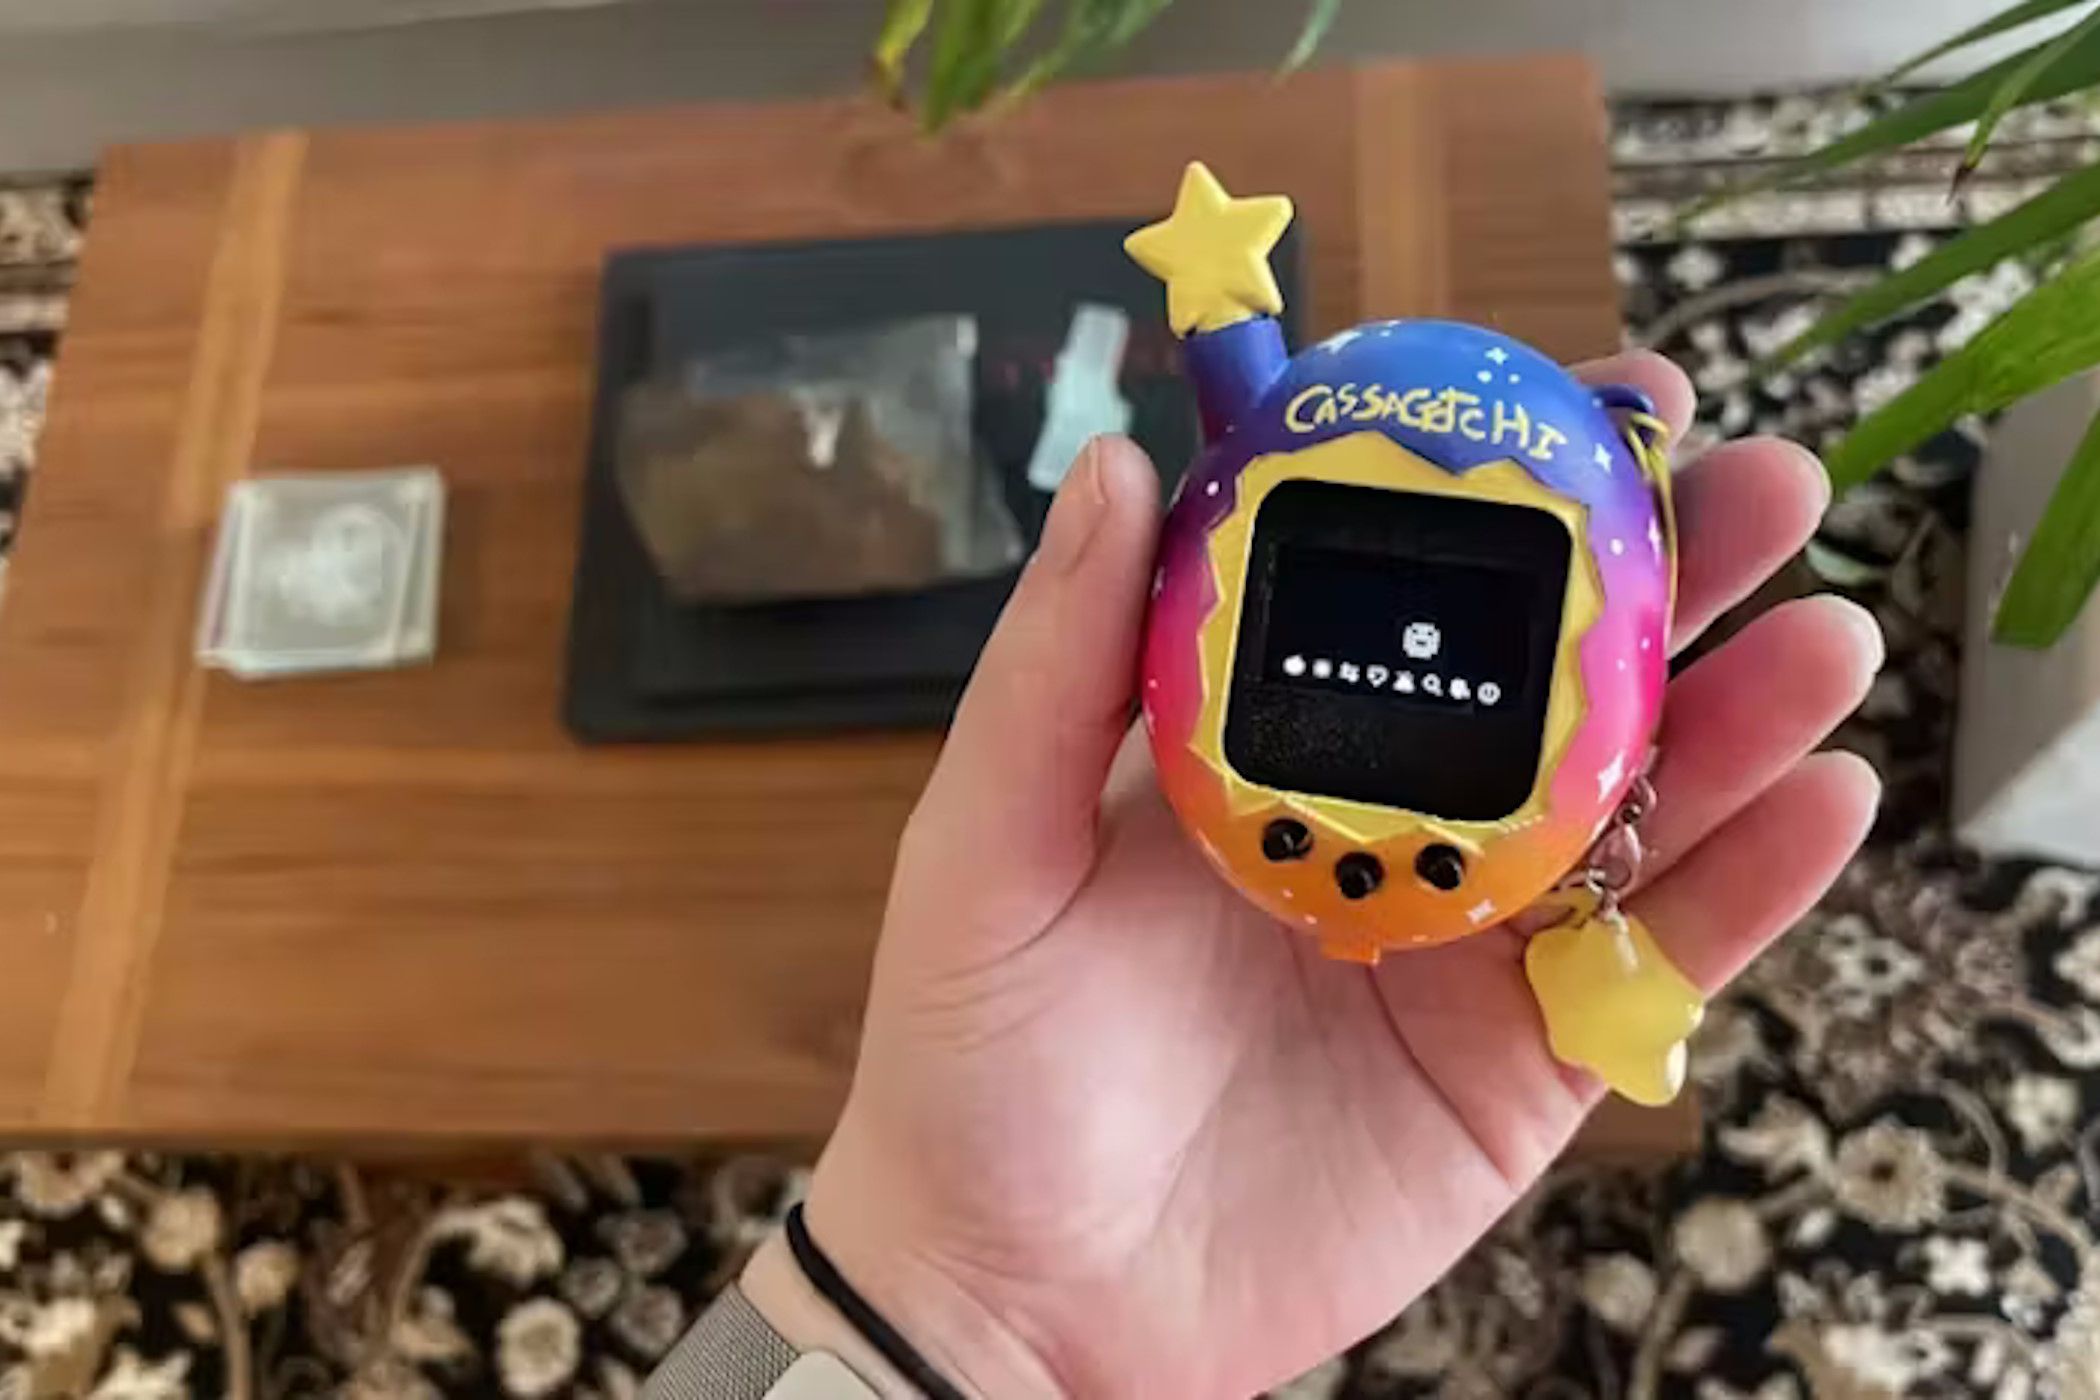
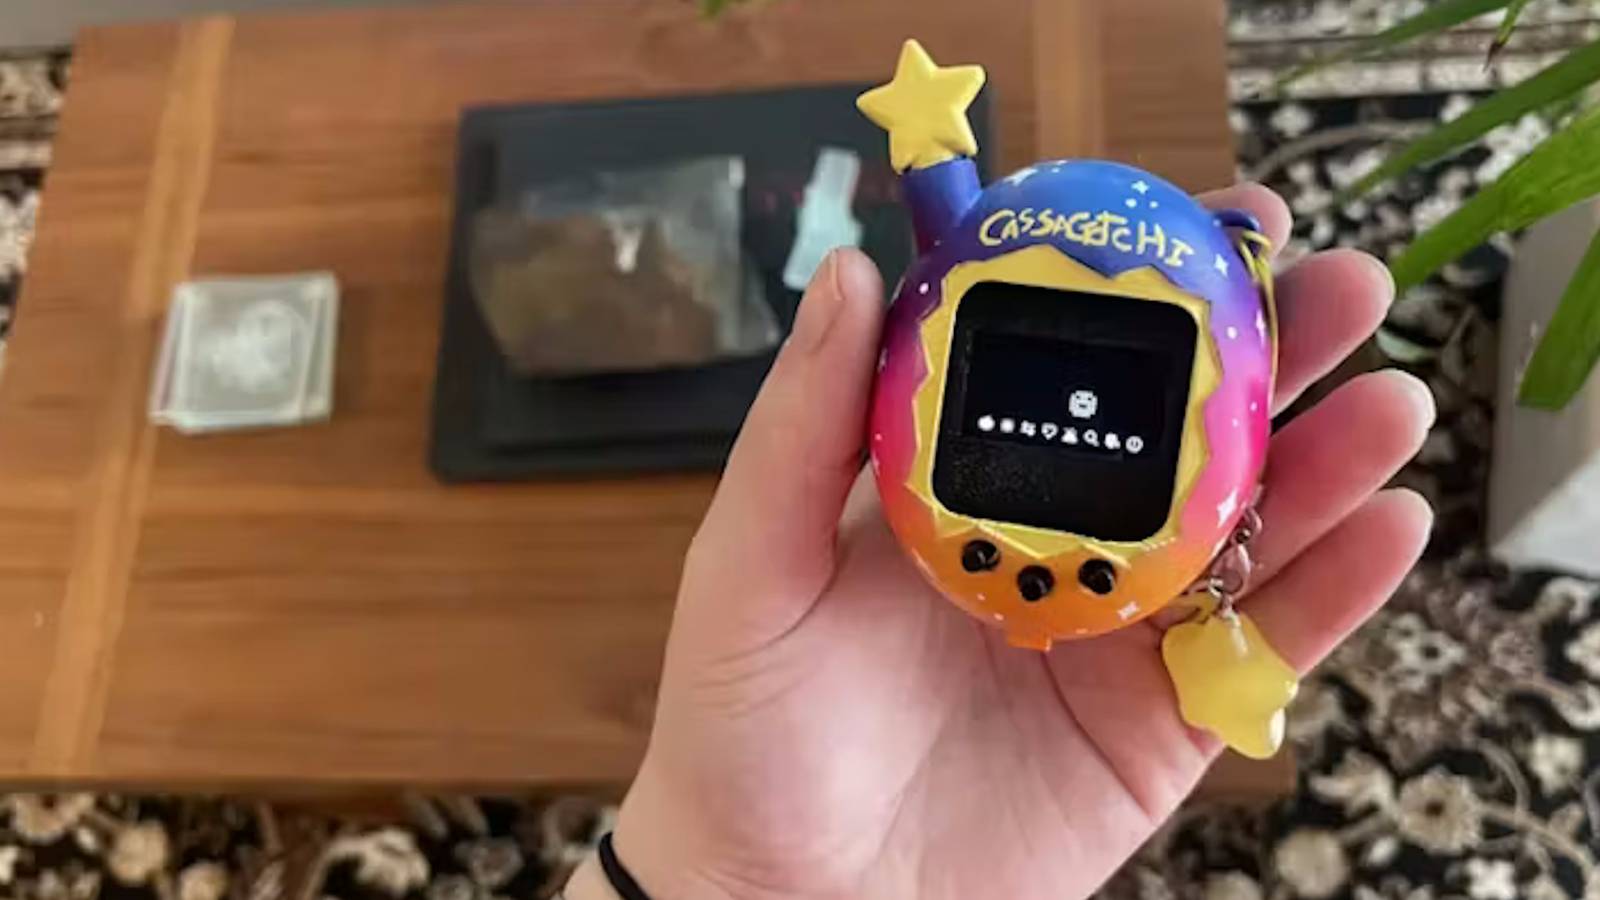
Place the Nano, display, and buttons into the 3D-printed shell. Secure them with hot glue or small screws. Connect the battery (ensure it's switchable for charging). Fit the shell halves together. Power on and verify the display lights up and buttons respond. Your Tamagotchi should now wake up and require attention!
Tips for a Successful Build
- Test each component individually before final assembly to avoid troubleshooting in a cramped shell.
- Use a breadboard for the initial circuit layout and code testing.
- Add a reset button accessible from the outside in case the software freezes.
- Optimize battery life by putting the Arduino to sleep when idle (use LowPower library).
- Customize the pet's appearance by editing the pixel art in the code.
Conclusion
With an Arduino Nano and a 3D printer, you can create a modern, personalized version of the classic Tamagotchi. The project is compact, engaging, and deeply satisfying once you see your digital pet come to life. Whether you're a seasoned maker or a curious beginner, this build offers a perfect mix of hardware and software fun. So gather your components, fire up your printer, and soon you'll have your very own pocket pal to nurture and enjoy.
For a complete parts list and sample code, check the resources linked in the introduction.